Requests
The Requests feature allows users to create new requests and upload documents to the request. The request tracker section simplifies the process of managing user requests, allowing you to efficiently handle and track them.
- we can Create a new requests.
-
The request tracker section simplifies the process of managing user requests.
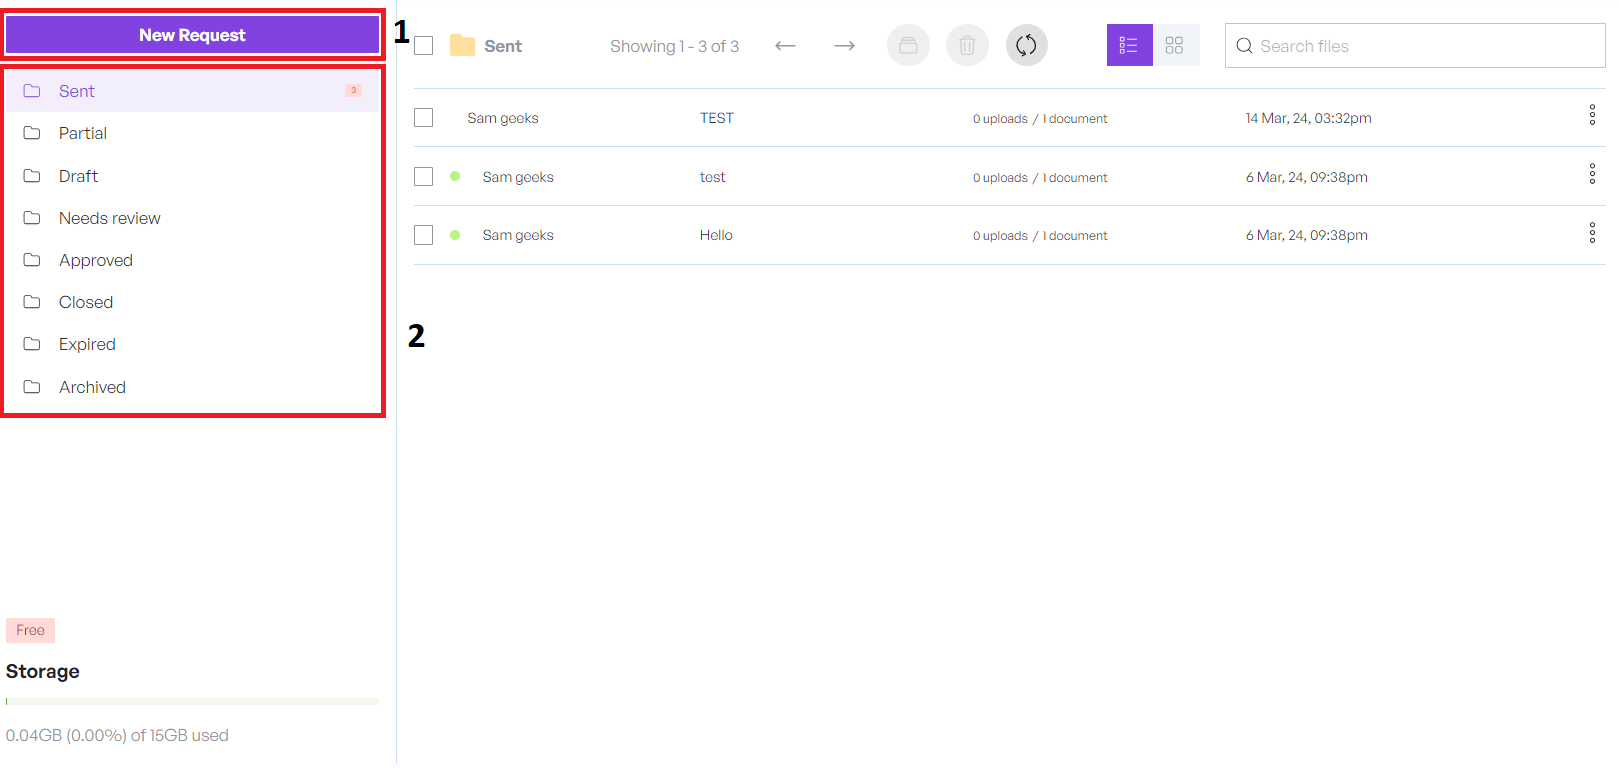
Sent: Indicates that the request has been sent but not yet completed or responded to.
Partial: Shows that the request has been partially fulfilled or completed, but some elements are still pending.
Draft: Denotes that the request is in progress but has not been finalized or submitted yet.
Need Review: Indicates that the request is ready for review or approval by the appropriate authority.
Approved: Signifies that the request has been reviewed and approved.
Closed: Shows that the request has been successfully completed and closed.
Expired: Indicates that the request is no longer valid or relevant due to elapsed time or other factors.
Archived: Denotes that the request has been moved to an archived status for historical reference but is no longer active.
New Request
Click the New Request button to open a new screen as shown below.
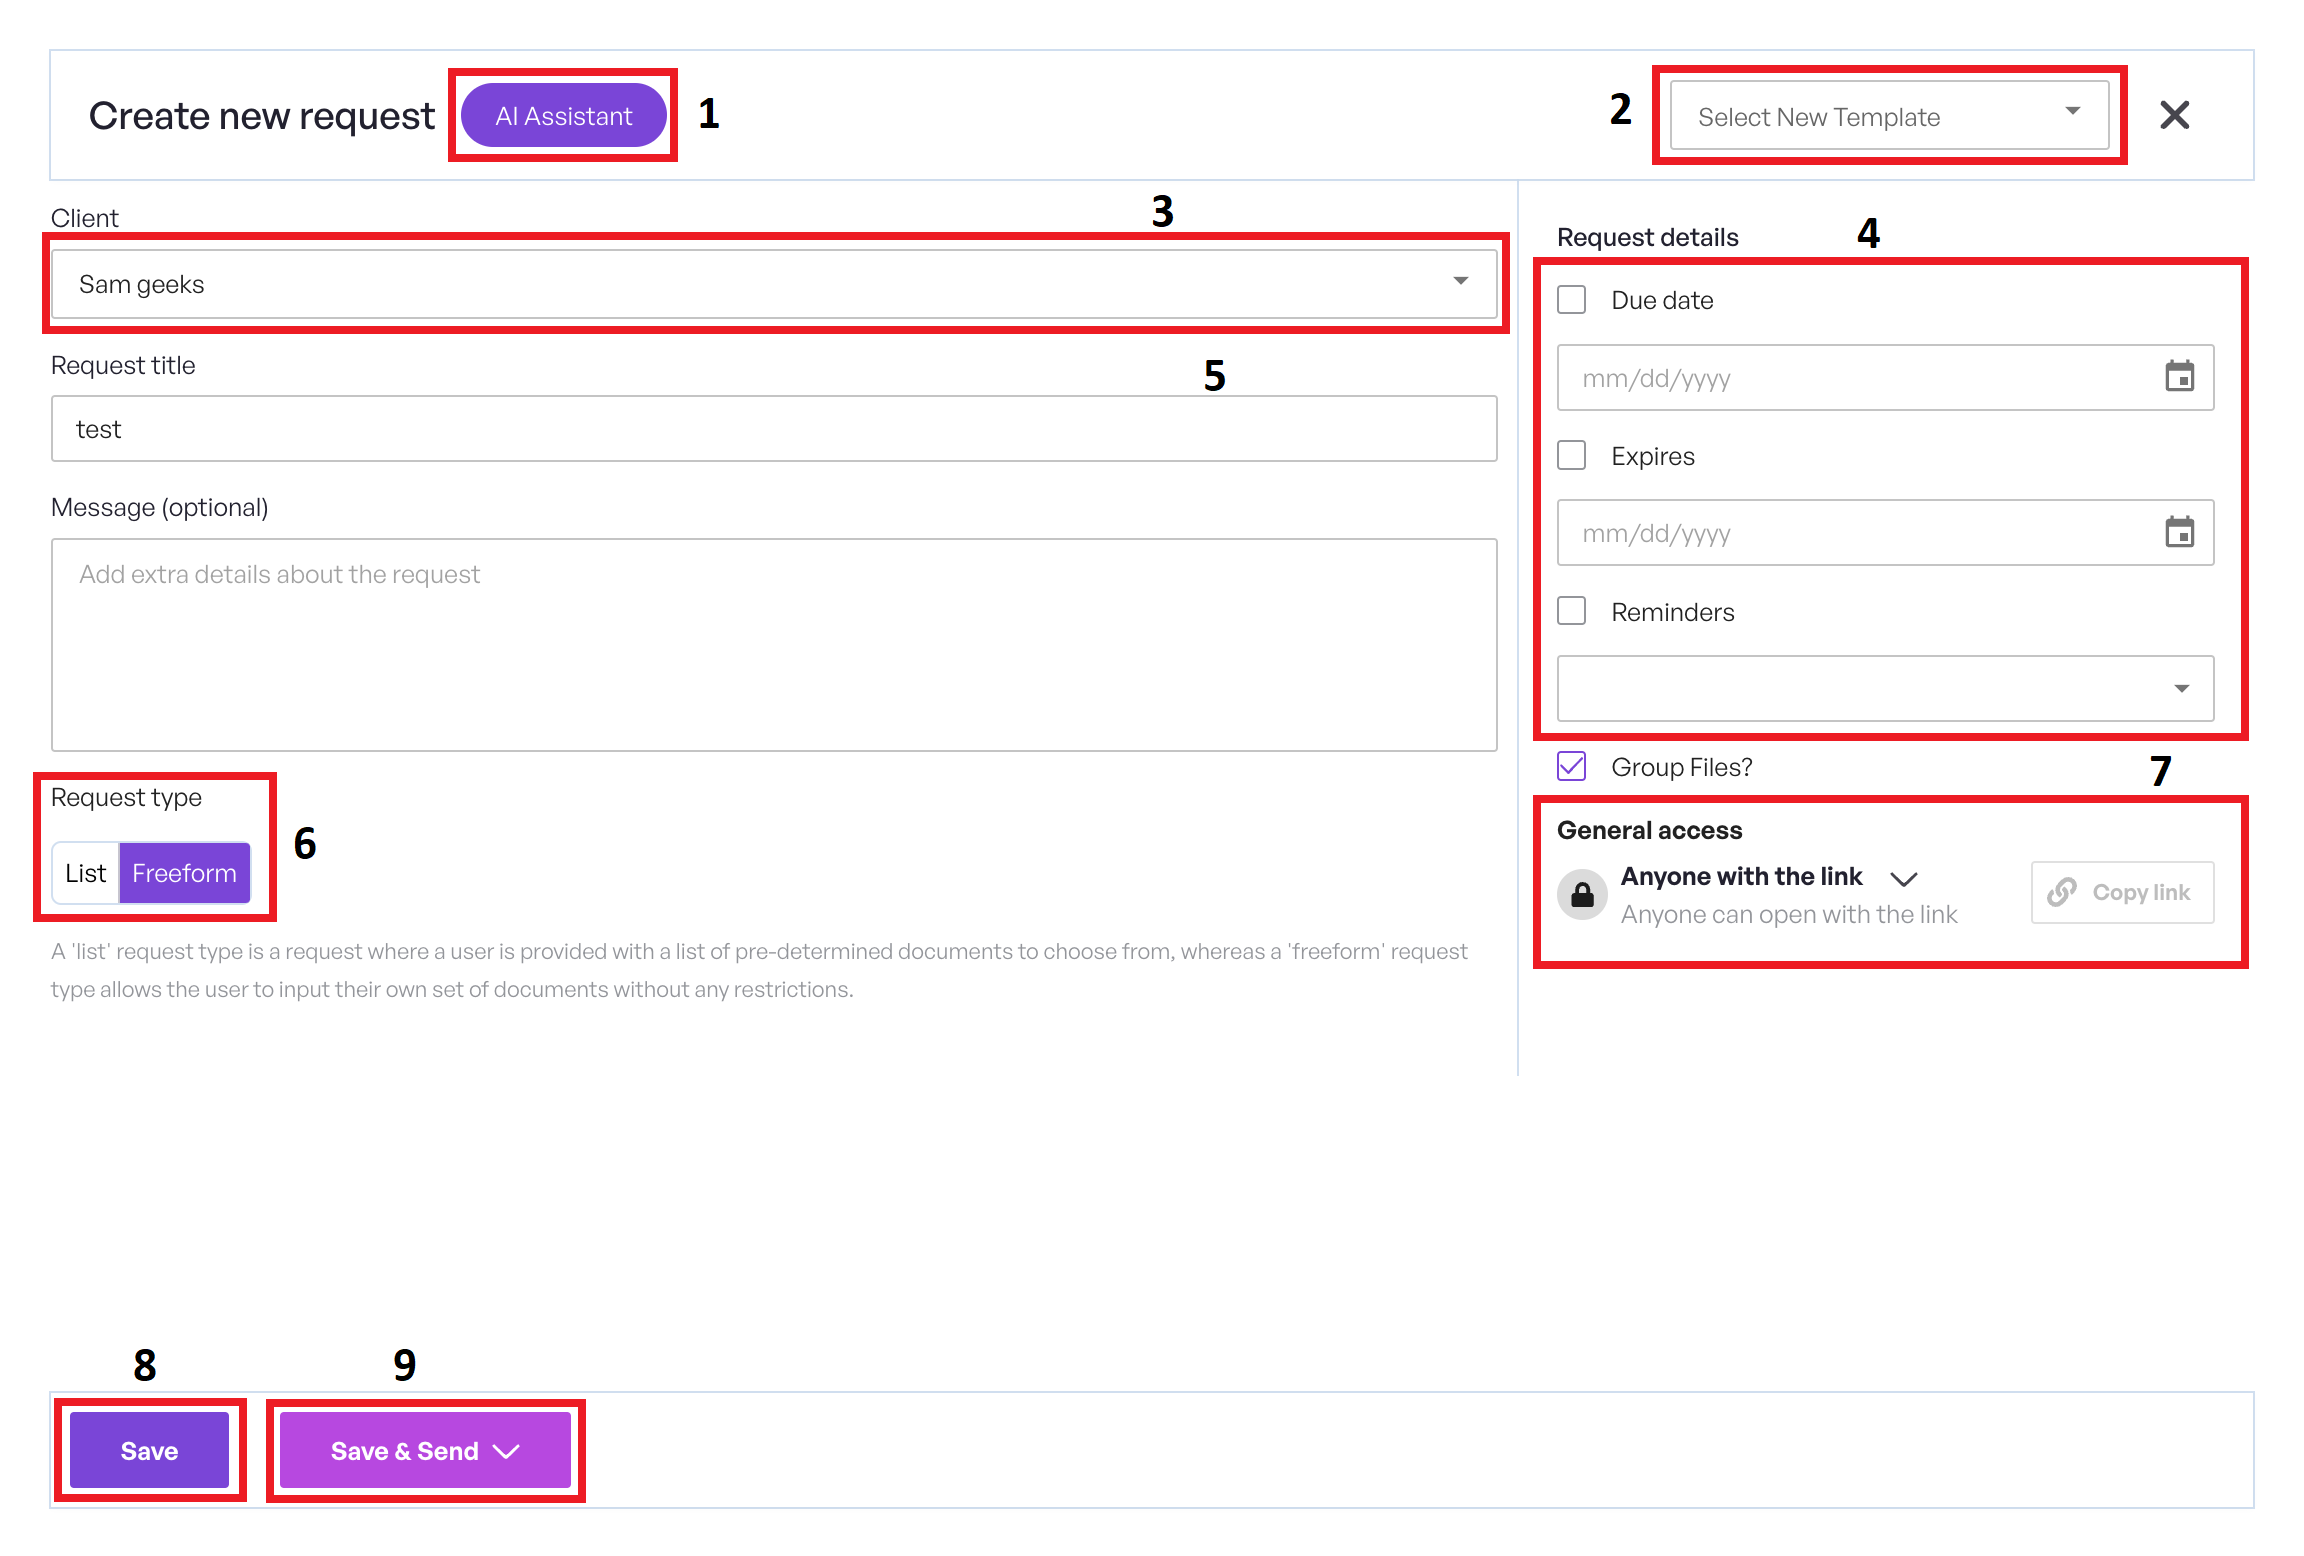
- Create a new request through the AI assistant.
- If you desire to build the request from a template, choose the template from the dropdown.
- Fill in the relevant information against Client.
- Select appropriate Due date and choose Reminder option from the dropdown.
-
Fill in the relevant information against Request Tile and Message.
-
Request Types are explained in detail in the following sections. Please refer to List - Request Type for more information.
-
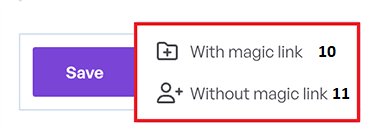
It will generate a magic link. This link will enable the user to log in as a client to view the request, specifically for the client for whom the request was created.
-
Click the Save button to save the request and close this screen.
-
Click the Save & Send button to save & publish this request and close this screen.
-
Clicking on the magic link will add a redirect link for the client, leading them to the request view page.
- Without the magic link, the email is sent without adding a redirect link.
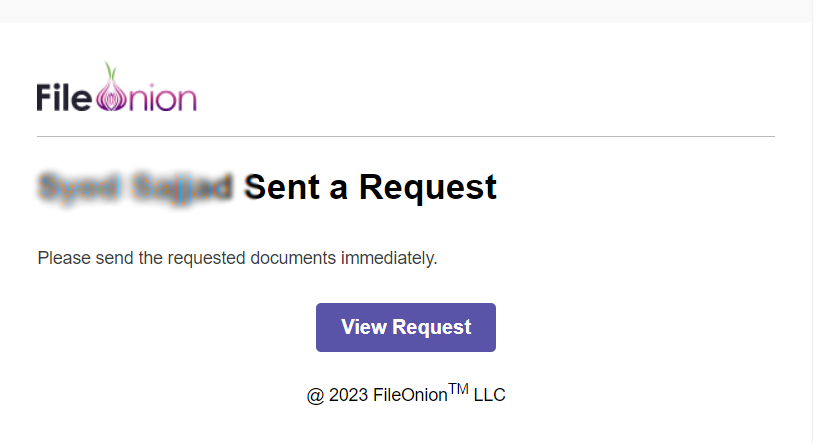
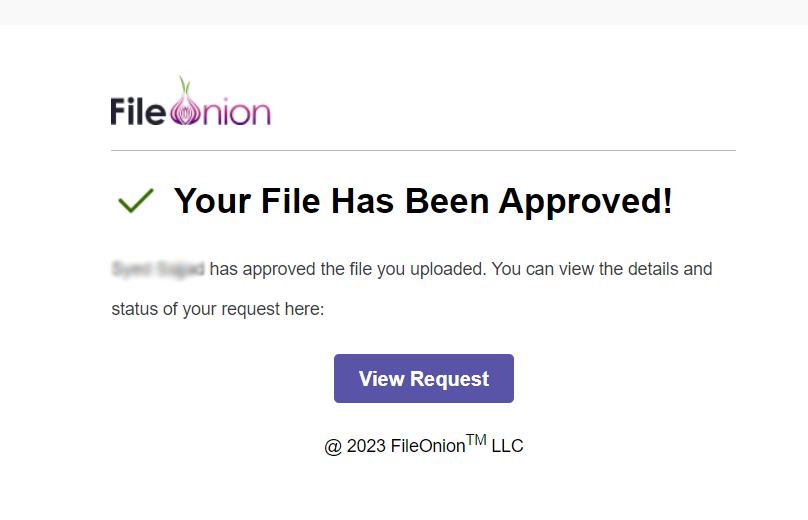
Once the request is received, the FileOnion system generates automated emails to the registered emails.
A sample Email notification requesting to sent a request.
A sample Email notification requesting document after submission.
Manage Requests
This section allows users to manage requests.
For reference, see the screen below.
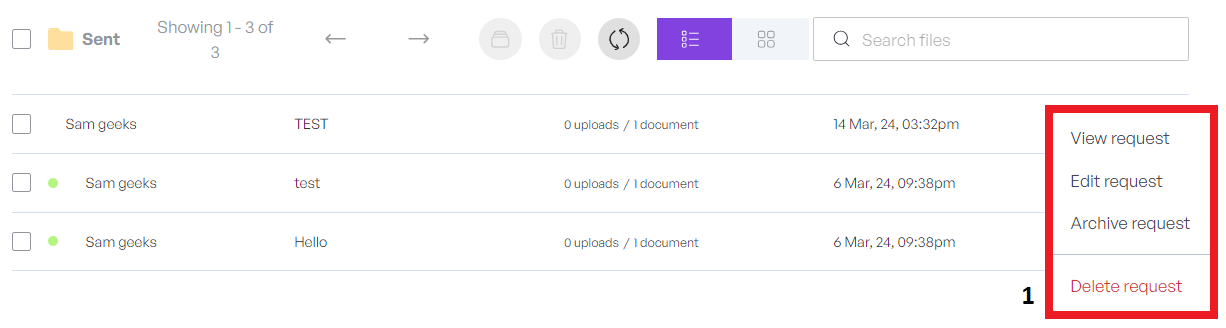
- Allowing View, Edit, Archive and Delete options.
List - Request Type
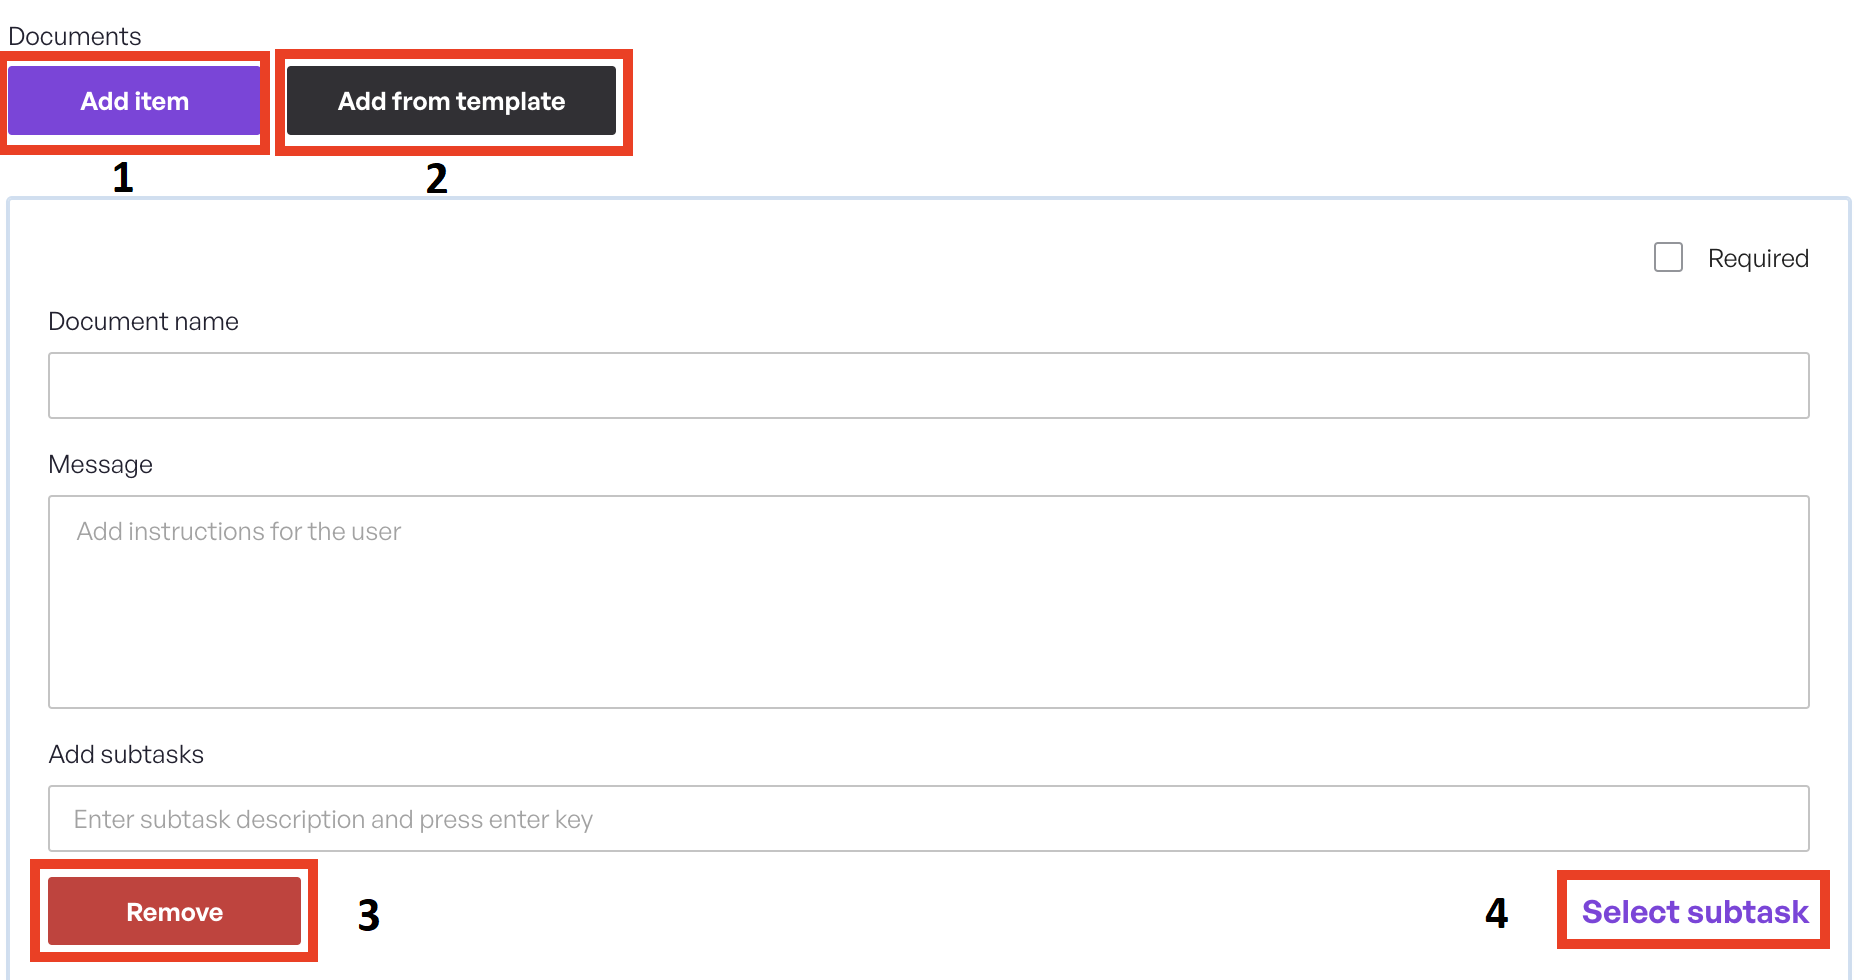
A List request type is a request where a user is provided with a list of pre-determined documents to choose from.
When you choose List option, the following new elements are added to the screen.
-
To add more documents, click the Add Item button.
-
Click the Add from template button to open a new screen to choose a template.
-
To remove the current document item, click the Remove button.
- Click the Select subtask button to open a new screen to choose a subtask.
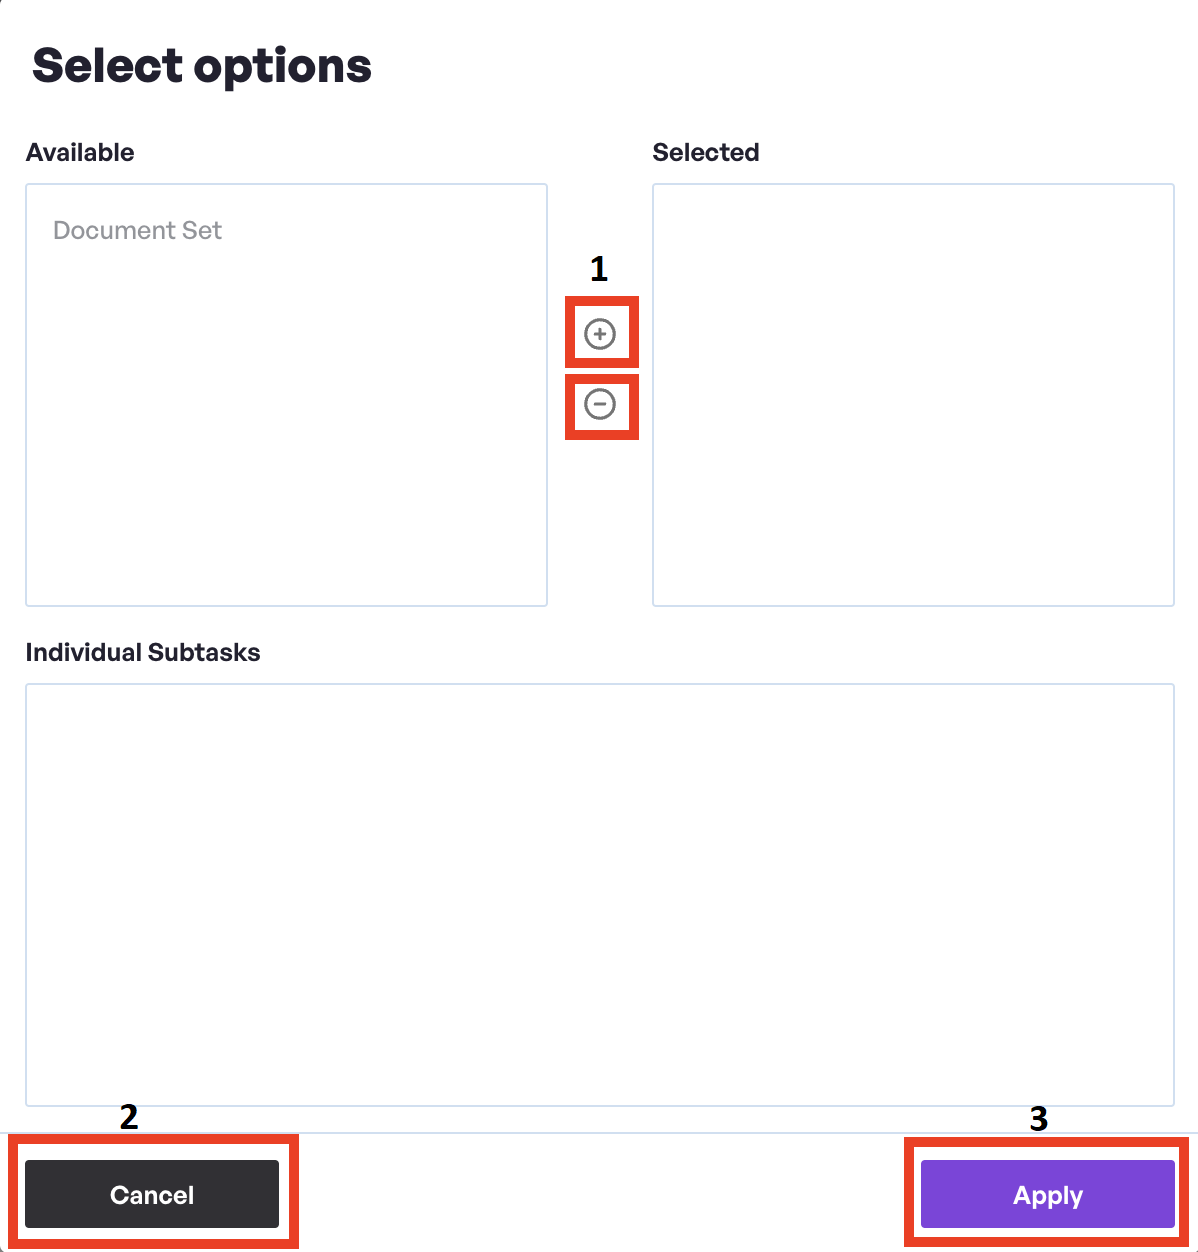
Add from template
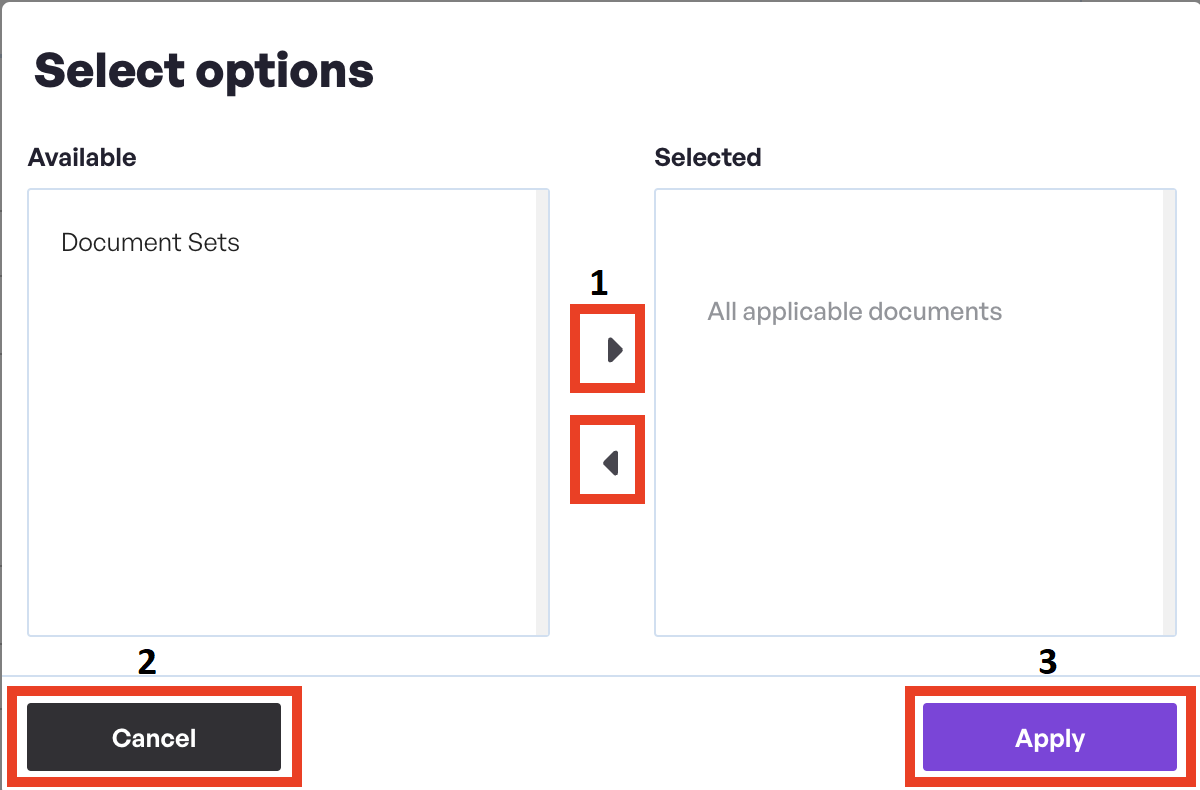
- Use the arrow keys to select the appropriate template.
- Click the Cancel button to close the screen without any changes.
- Click the Apply button to apply the selected template to the request and close the screen.
Select subtask
- Use the arrow keys to select the appropriate subtask.
- Click the Cancel button to close the screen without any changes.
- Click the Apply button to apply the selected subtask to the request and close the screen.
View Request
For reference, see the screen below.
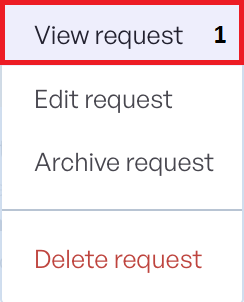
- Click the View Request button to preview the request.
-
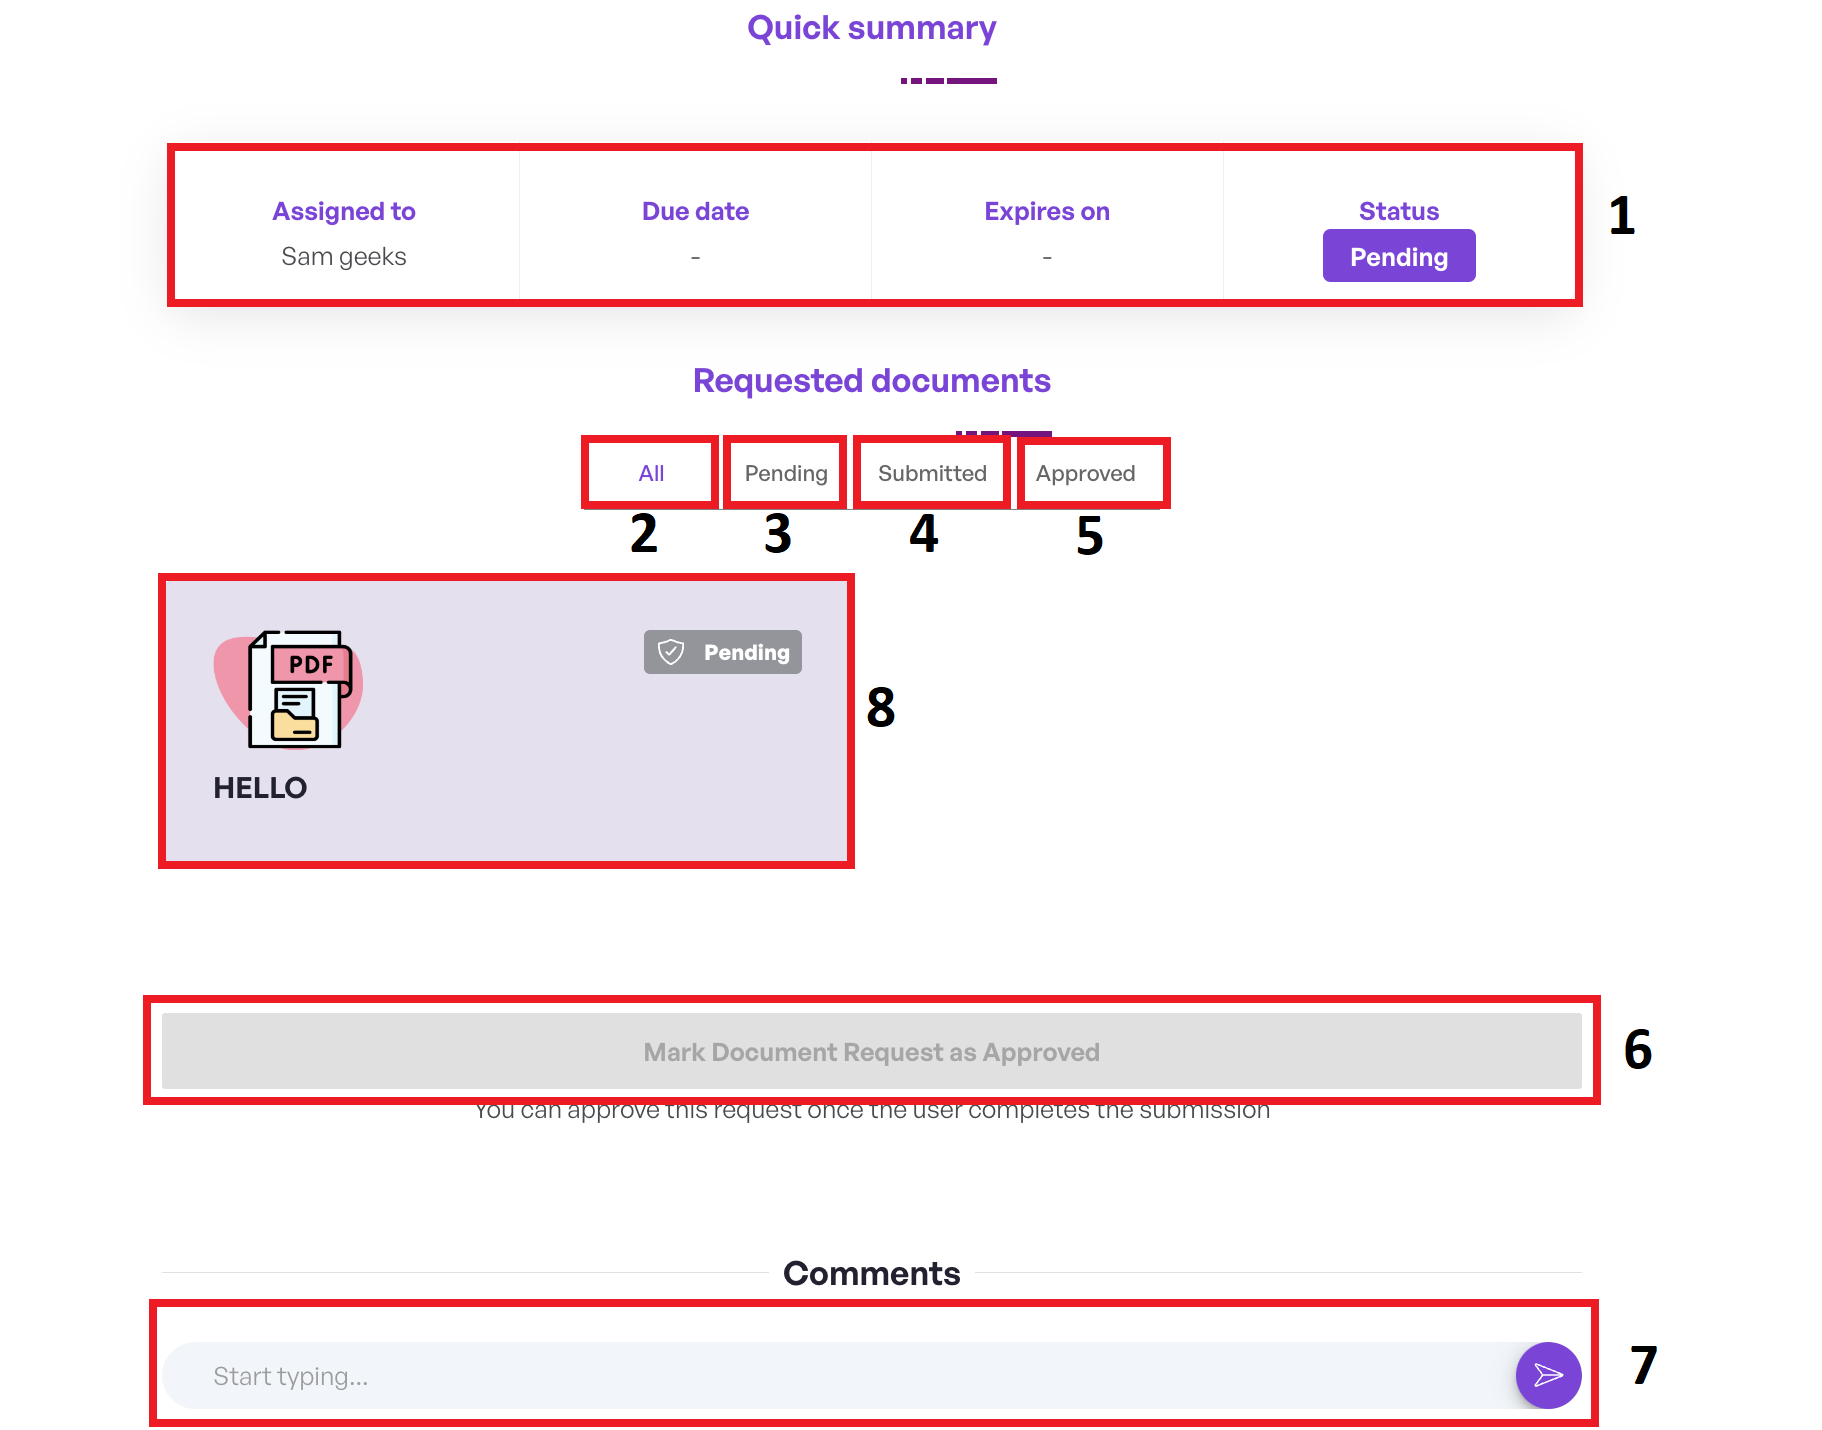
We have in Quick summary Assigned to,Due Date,Expires and Status.
-
ALL: Lists all requested documents.
- Pending: Documents awaiting submission or approval.
- Submitted: Documents already submitted for review.
- Approved: Documents successfully reviewed and accepted.
- Select this option to formally approve the document request once the user has satisfactorily completed the submission process.
- This section serves as a platform for comprehensive discussions, queries, or requests related to files or the project at hand.
- Click on the files to open them, which opens a drawer for easy access.
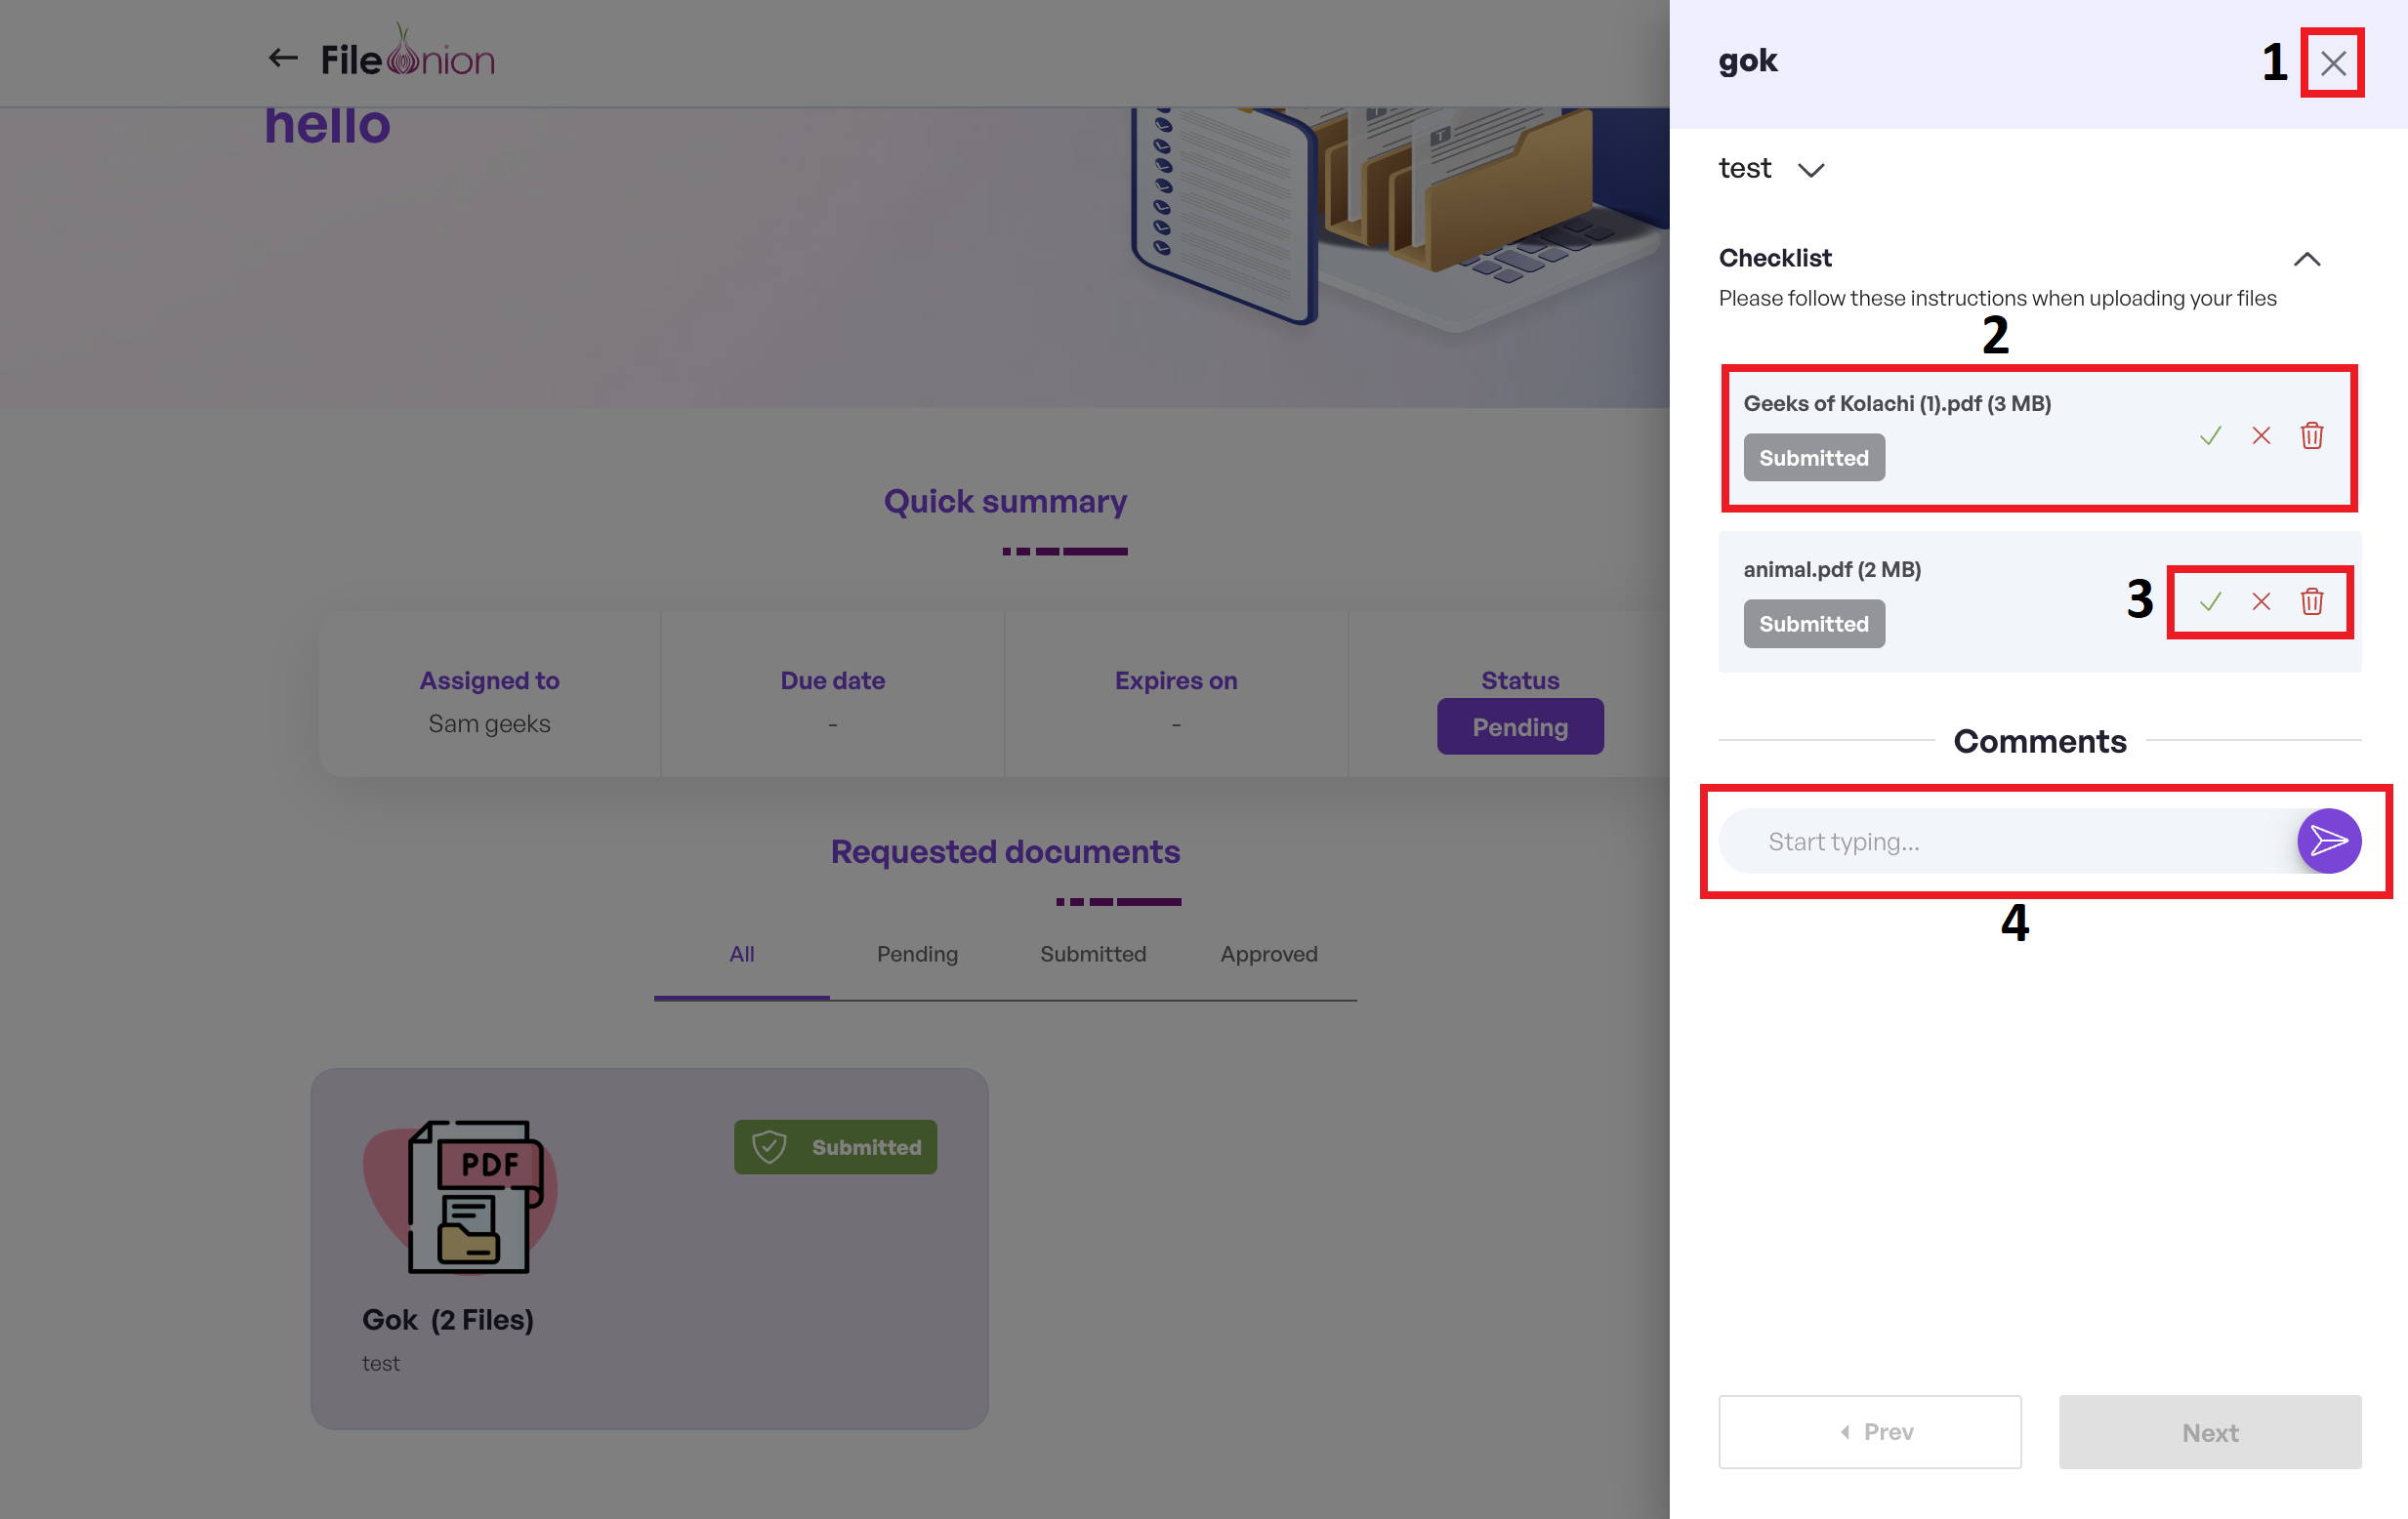
- Click X to revert to the previous screen.
- Click on the files allows users to directly view them, ensuring a smooth and detailed review process.
- We provide three actions: Approved, Reject and Delete for efficient management of each document.This allows quick decision-making regarding the status of each file.
- The comments section for collaborative feedback, to enhance the quality and accuracy of our document review process.
Edit Request
Click the Edit Request button to load the selected request for editing.
For reference, see the screen below.
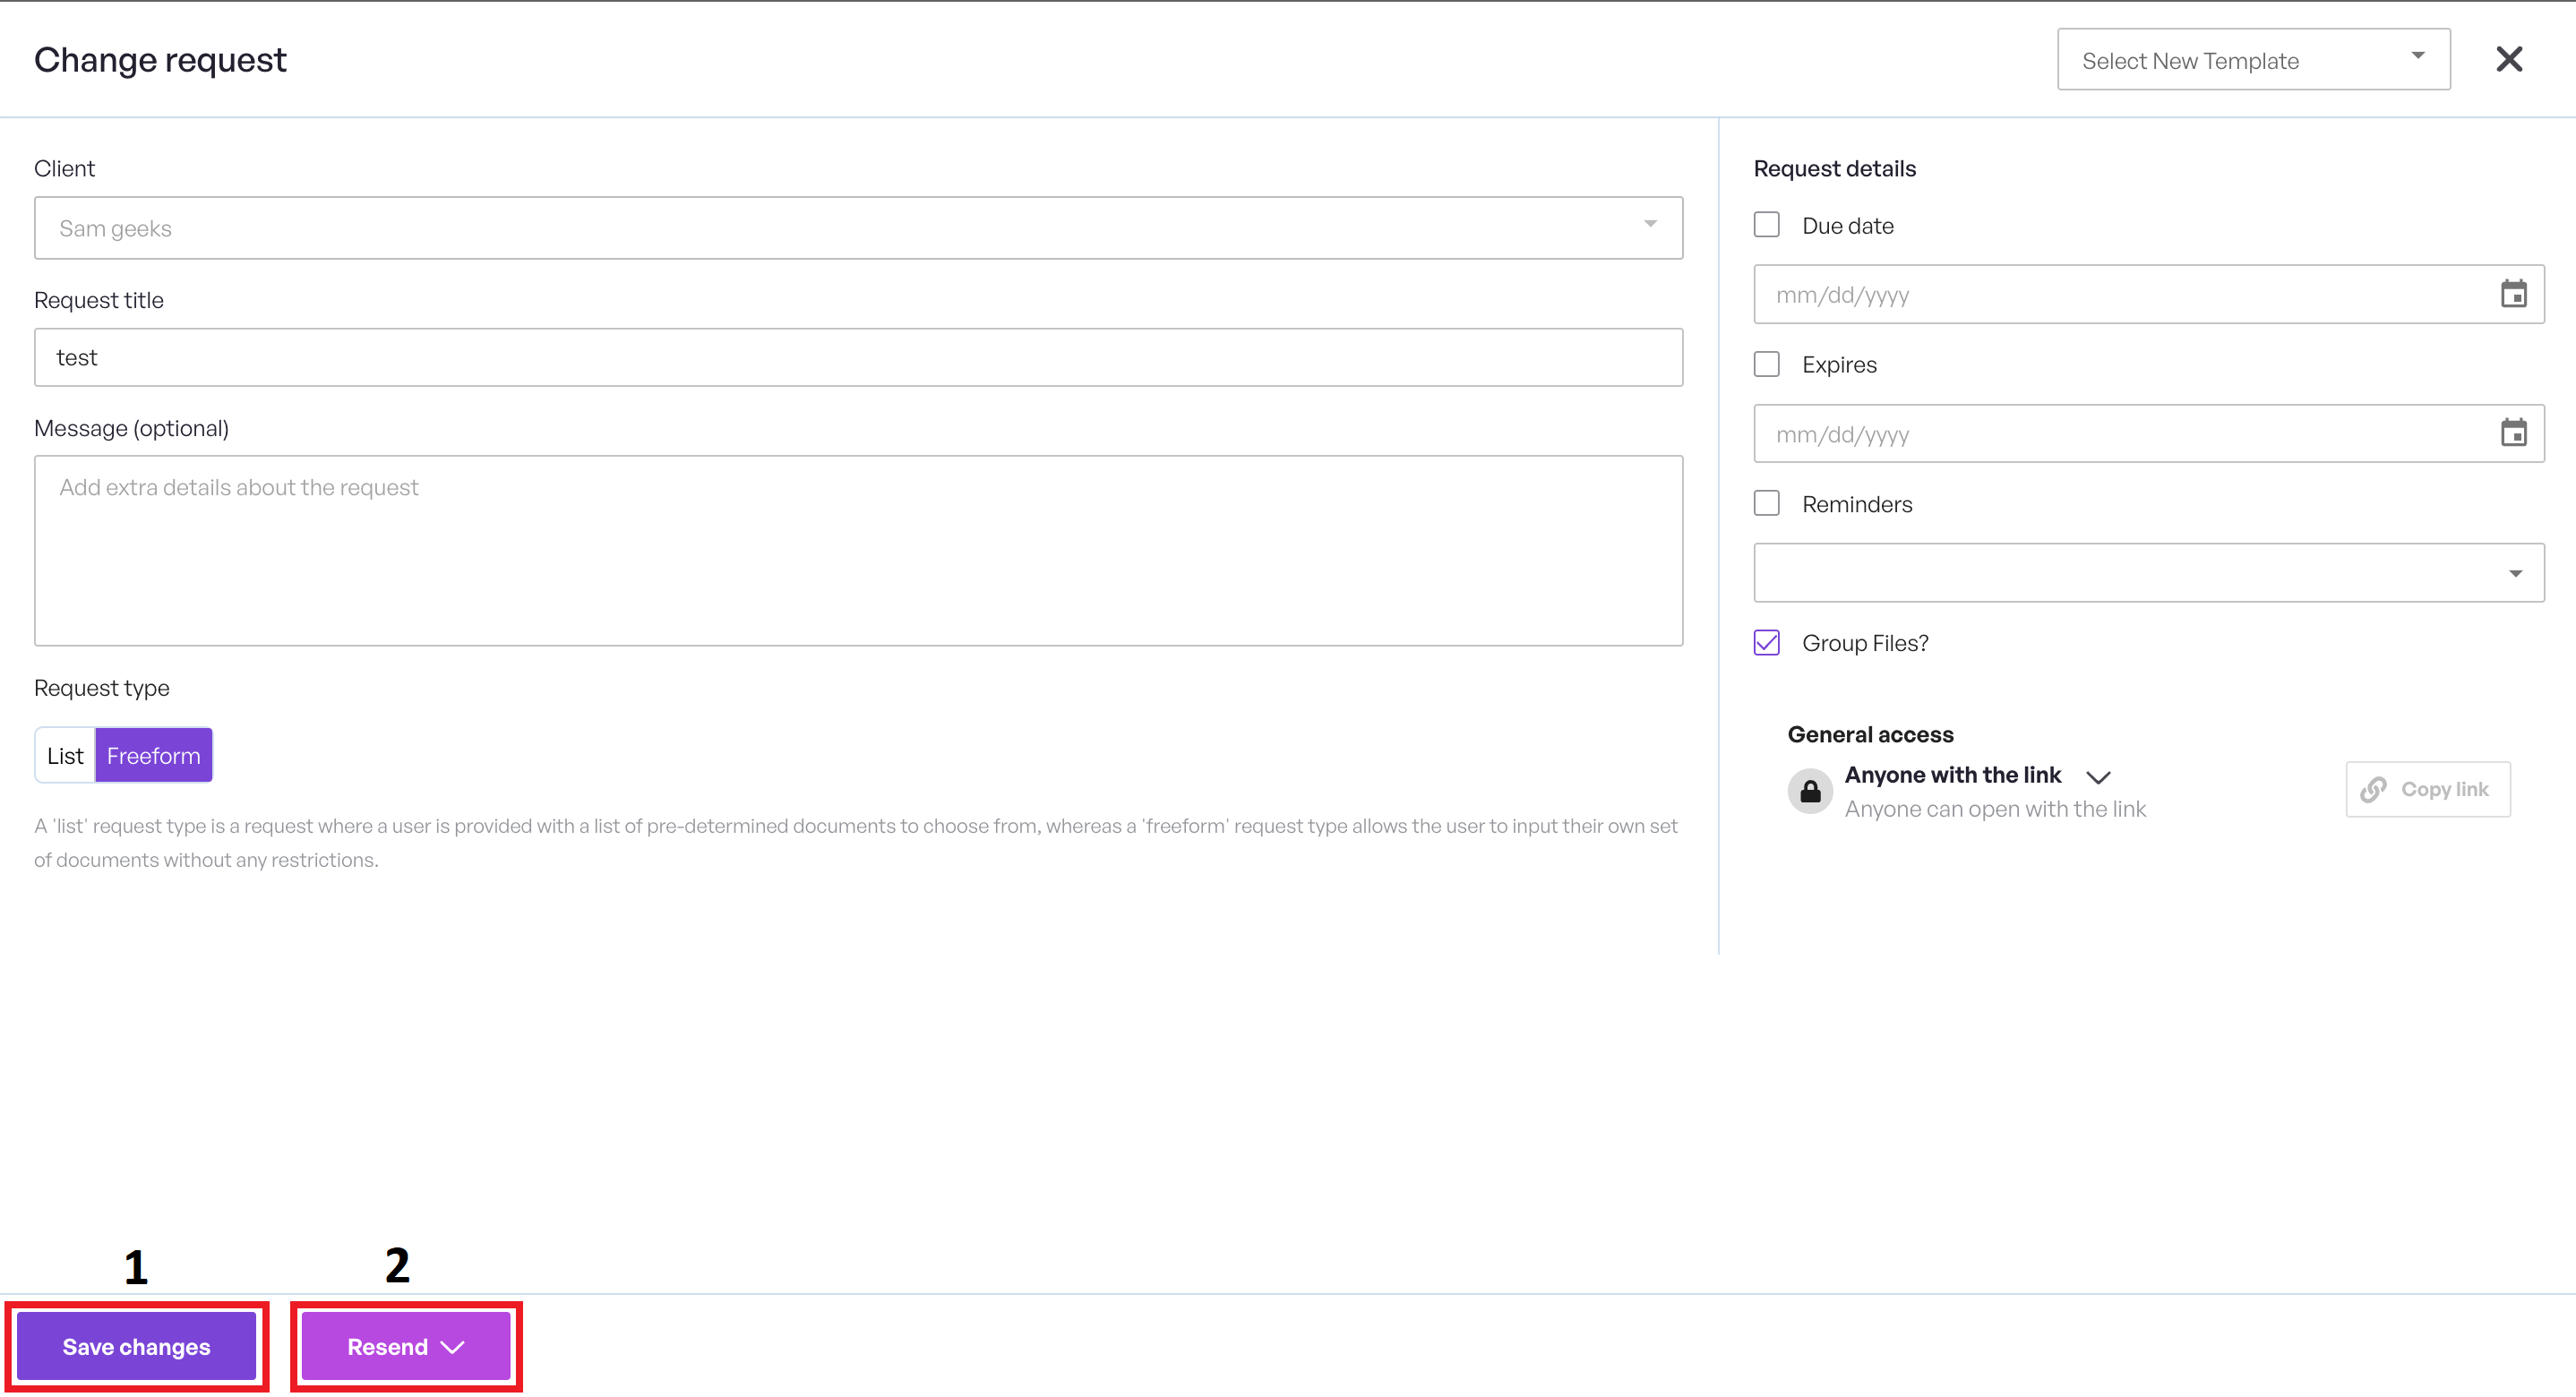
- Make necessary changes and Click the Save changes button to save the changes.
- To publish the changes, Click the Resend button.
Archive Request
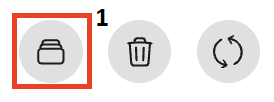
Select the appropriate request record.
- Click the Archive request button to move the selected request to archive. Choose either from the menu or select the button to perform archive operation.
Delete Request
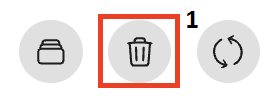
Select the appropriate request record.
- Click the Delete request button to delete the selected request. Choose either from the menu or select the button to perform delete operation.
Reload Records
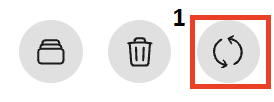
All requests are automatically loaded by the system at a fixed interval.
- To fetch and display all records now, Click the Sync button.